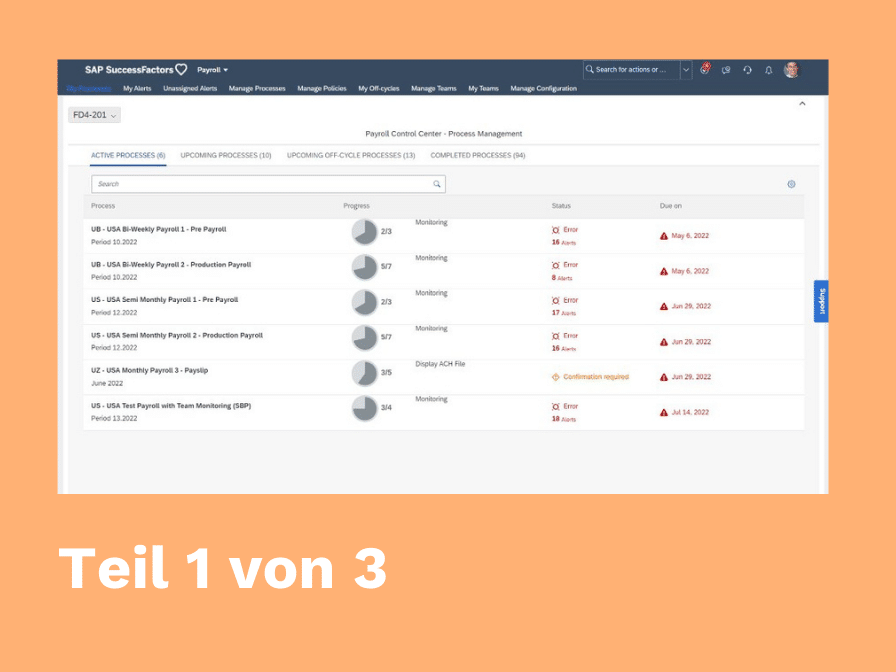
With SAP SuccessFactors Employee Central Payroll (ECP), the management and monitoring of payroll processes are to be carried out directly from SuccessFactors. Technically, it is a web portal into which UI5 applications from an ERP backend are embedded. The actual payroll accounting and payroll runs continue to be performed in an ERP backend. A core component of ECP is the Payroll Control Centre (PCC), which has been offered as an add-on for ERP systems since 2014. The ECP portal primarily serves as a modern user interface providing access to the same underlying technology.
If you already have an ERP backend and wish to use the modern PCC interface, you can do so without SuccessFactors. This blog details every step required to achieve this, based on SAP’s official setup guide.
This blog article is the first part of a series on activating the PCC, focusing on the activation of the Configuration Workbench.
Activating the Configuration Workbench
The Configuration Workbench (CW) is used to set up validation rules and process types for the PCC. After activation, it can be accessed via transaction PYC_CONF_WB.
Business Functions
First, the required business functions must be activated using transaction SFW5. A list of the functions to be activated can be found here under point 2, or in the figure below. All functions are located in the ENTERPRISE_BUSINESS_FUNCTIONS folder. To activate them, tick the checkbox for ‘Planned Status’. Afterwards, you can save and activate the changes.

SFW5SAPUI5 Applications
Next, the UI5 applications that will later be embedded in SuccessFactors need to be activated. They are activated via transaction SICF. The list can be found here under point 3, or in the following table.
To activate them, locate the service in the hierarchy, right-click on it, and select ‘Activate Service’.
| SAPUI5 Application | Service Path |
|---|---|
| Manage Teams | /sap/bc/ui5_ui5/sap/hrpy_pcc_tm_1 (In der SAP-Doku falsch) |
| My Teams | /sap/bc/ui5_ui5/sap/hrpy_pcc_mc_1 (In der SAP-Doku falsch) |
| My Processes | /sap/bc/ui5_ui5/sap/hrpy_pcc_proc_3 (In der SAP-Doku falsch) |
| My Alerts | /sap/bc/ui5_ui5/sap/hrpy_pcc_errm_2 |
| Unassigned Alerts | /sap/bc/ui5_ui5/sap/hrpy_pcc_em_t_2 |
| Manage Policies | /sap/bc/ui5_ui5/sap/hrpy_pcc_conf_2 |
| Manage Processes | /sap/bc/ui5_ui5/sap/hrpy_pcc_conf_1 |
| My Off-Cycles | /sap/bc/ui5_ui5/sap/hrpy_pcc_oc_1 |
| Audit Trail | /sap/bc/ui5_ui5/sap/hrpy_pcc_al_2 |
OData Services
The UI5 apps communicate with the backend via OData services to read and write data.
If the UI5 apps run on a different backend than the payroll system, routing must be configured in the Reference IMG (transaction SPRO) under ‘Manage SAP System Aliases’. The exact hierarchy is shown in the screenshot below.
In this test system, both the UI5 apps and the payroll run on the same backend, so this step is skipped and the existing system alias LOCAL is used.

Now the OData services need to be activated.
This is done via transaction /IWFND/MAINT_SERVICE. The list can be found here under point 4.
The following services are required:
| OData Service | Technical Name |
|---|---|
| Manage Teams | PYC_TEAM_MANAGER_SRV |
| My Teams | PYC_TEAM_MAINT_SRV |
| My Processes | PYC_PROCESS_MANAGER_SRV |
| My Alerts | PYC_ALERT_MANAGER_SRV |
| Unassigned Alerts | PYC_TEAM_ALERTS_SRV |
| Manage Policies Manage Processes | PYC_CONF_SRV |
| My Off-Cycles | PYC_OFF_CYCLE_SRV |
| Audit Trail | PYC_CONT_003_SRV |
To activate the service, select it from the list and click on ‘ICF Node’ -> Activate in the bottom left corner of the window.
In the bottom right corner of the window, the system alias must be added (here: LOCAL).
If everything has worked correctly, the OData service can be tested using the SAP Gateway Client.

Declustering
To store the validation data, declustering must be activated.
In this process, data from encrypted cluster tables is copied into readable transparent tables. Payroll results are stored in cluster PCL2. This cluster consists of several tables, including the RT (Result Table) and WPBP (Work Center/Basic Pay) tables, which contain the data required for the PCC.
We will configure the declustering so that the data is simultaneously stored in the transparent tables P2RX_RT and P2RX_WPBP when it is created in the cluster.
To do this, you must once again access the Customising (SPRO).
The path is: ‘SAP Customizing Implementation Guide’ -> Payroll -> ‘Payroll: Germany’ -> ‘Declustering Tools’ -> ‘Define Settings for Declustering Tools’.
There, set ‘Switch Option’ to ‘Switched on with synchronous declustering’.
‘DB Connection’ remains empty.

In the same level of the Customising hierarchy, select ‘Select Tables with Payroll Results for Declustering’.
We add the RT and WPBP tables.

In the next part of this blog series, we will activate the Manage Configuration app. You find it here.
In the third and final part of our blog series on activating the Payroll Control Center (PCC), we walk you through the setup of the background processes. More here.